- Follow these steps to download the FileZilla Client.
To access your inventory feed, you will need to first download the FileZilla Client. Proceed to:
https://filezilla-project.org/download.php
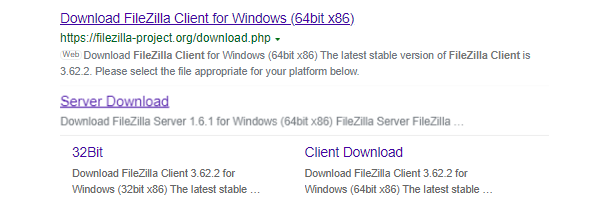
Then, depending on your operating system, download the corresponding file. Example: Windows (64 bit x 86)
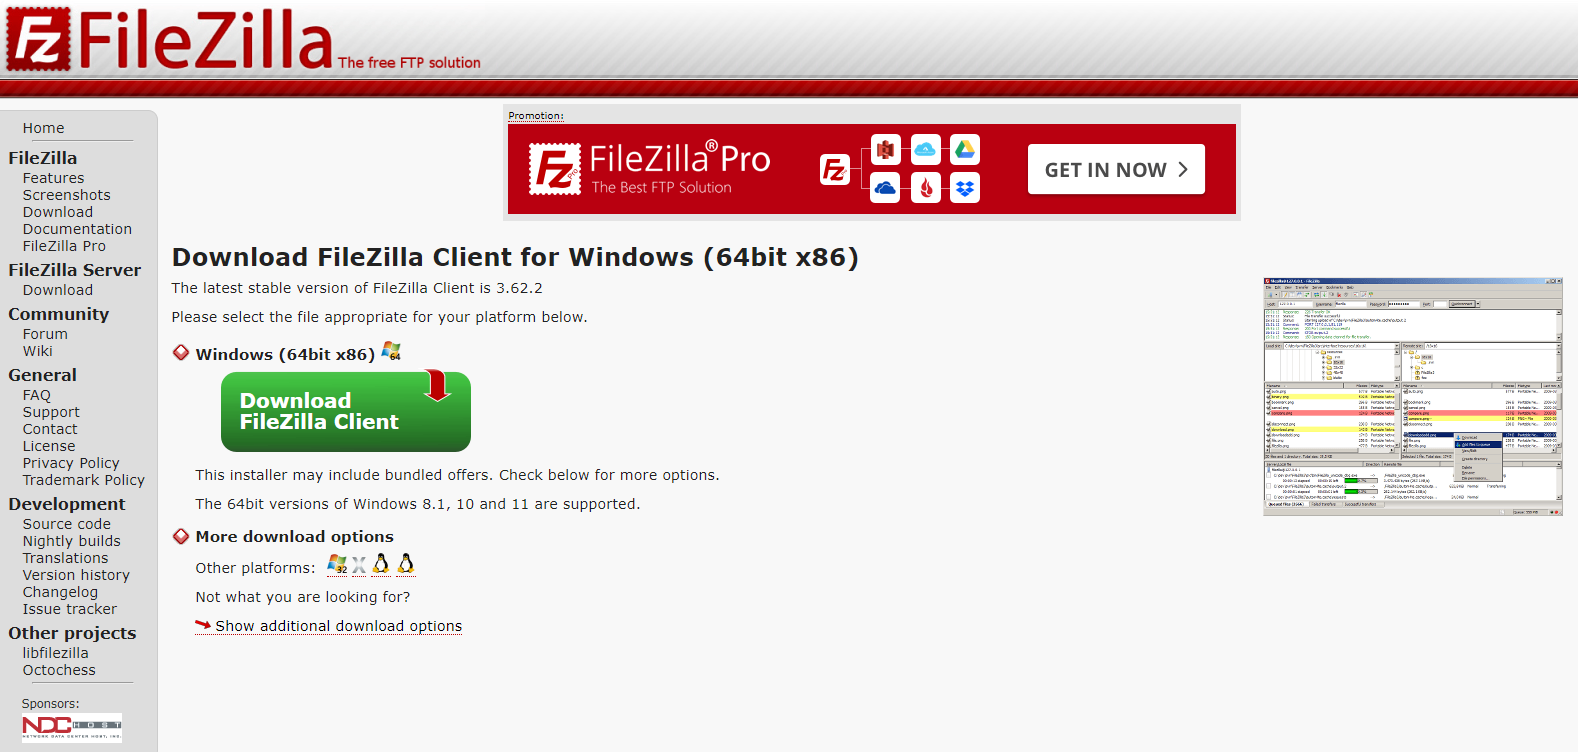
Select the basic FileZilla Client:

FileZilla will then be downloaded:
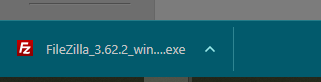
You will then be prompted to allow FileZilla to make changes to your device - accept.
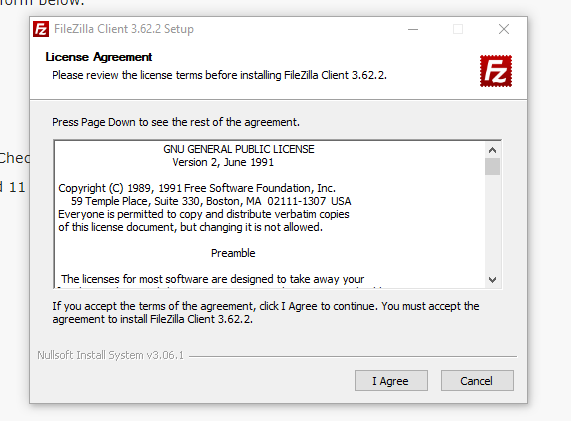
A license agreement will then pop up:
2. Follow these steps to find your FTP credentials.
https://learn.dbaplatform.com/how-do-i-create-ftp-credentials-for-auto-inventory
Now that you have FileZilla installed and your FTP credentials in mind, we can proceed to accessing the inventory feed.
3. Follow these steps to access your inventory feed.
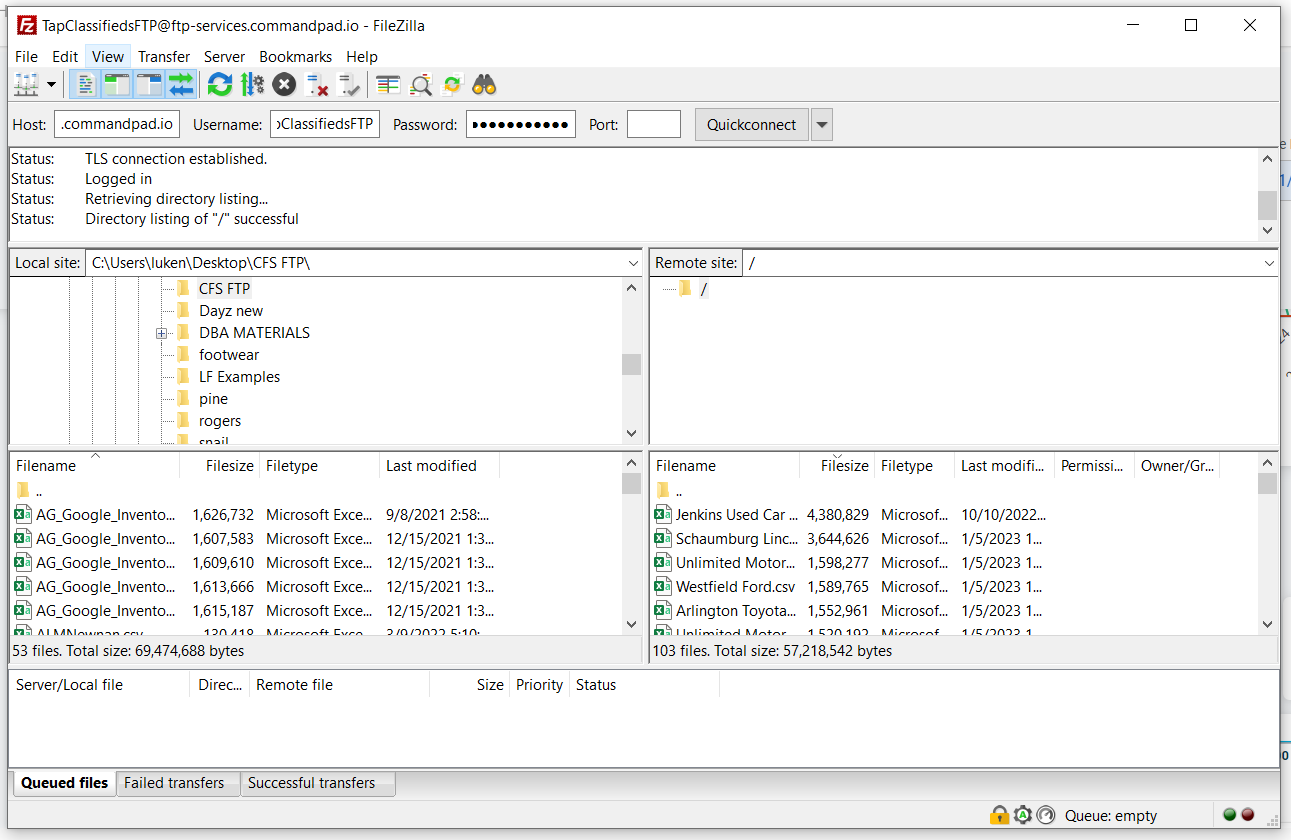
Open FileZilla, which should look similar to this:

Then, enter the FTP credentials you received - enter in the Host, Username, and Password into the corresponding sections. Then select the Quickconnect button.
Once you have connected to the server, your submitted inventory feeds will populate on the right-hand side along with their last submission date:
Right-click on the inventory feed you’d like to examine and select download.
The file will then download to FileZilla and will be visible on the left-hand side of the FileZilla window.
Right-click on the corresponding file on the left-hand side of the window and select Open. The inventory feed will now open, allowing you to examine the feed!