How do I create FTP credentials for Auto Inventory?
This article will detail the steps involved to create FTP credentials for submitting Auto Inventory.
Sample FTP file (Downloadable)
Pro Tip: The headers/attributes in the sample file MUST match the data file that is being submitted to dbaPlatform. These headers/attributes are case sensitive and MUST be spelled correctly as well. Please take note or make a copy of the sample file posted above.
- There is a new optional but highly recommended field called Placeid. This is Google's unique address for all businesses located on Google Maps. If you need to find a Placeid, here is the link to do so. Just enter the name of the entity in question and it will give you the Placeid.
Pro Tip: Although some headers/attributes are labeled as OPTIONAL, the more data that is supplied with a vehicle, even OPTIONAL data, will help increase the vehicle's "score" and help with organic search results. The more information the better!
Prior to activating Cars for Sale, ensure the location has been grouped within dbaPlatform and activated with a Premium license or higher.
1. Navigate to https://agency.commandpad.io/v2/#/location-groups/location
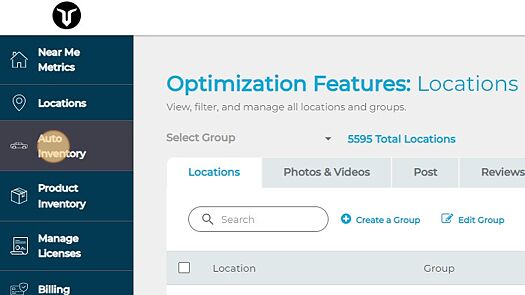
2. Click "Auto Inventory"
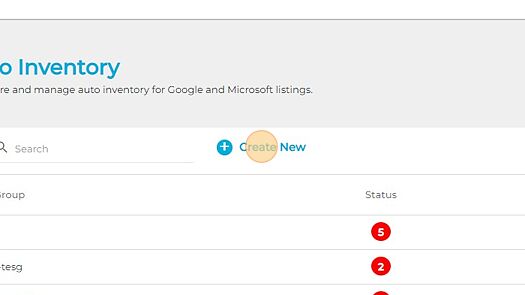
3. Click "Create New"
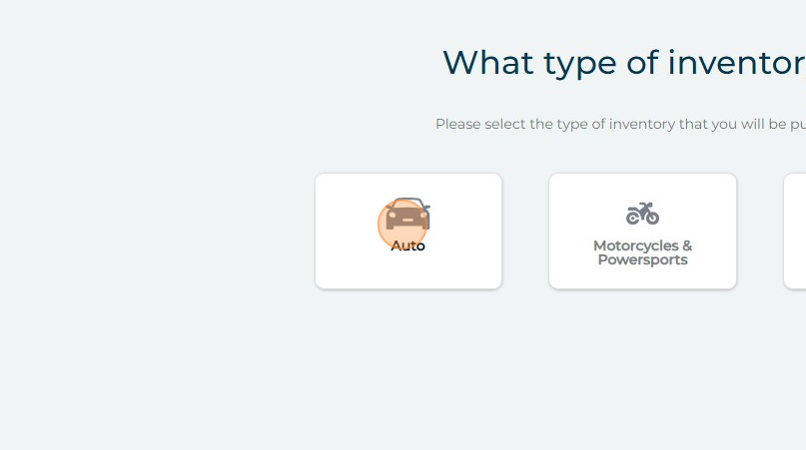
4. Select the dealer's type of inventory
5. Name the inventory group. This name is for internal use only, and you can name the group by the location's name if preferred

6. Click "Next"

7. Select the account the location resides in

8. Click "Apply Filter"

9. Click "Locations"
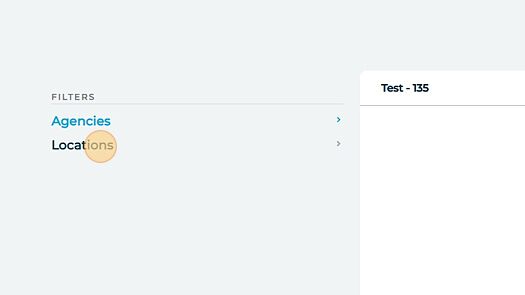
10. Select the location you wish to activate - locations need to be grouped separately unless they share a website URL

11. Click "Save Group"
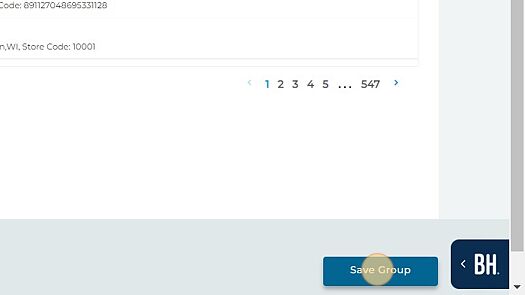
12. Fill out the location's business information - this is only used if you activate the VLA program next

13. Click "Continue"
14. Select the FTP/SFTP option

15. Click "Ok"

16. Your FTP credentials will be generated on the next page:

17. Click "Fetch New File" - you will be asked to upload a sample inventory feed for the dealer, and the platform will ensure that your feed includes all of the required fields

18. Click "Verify"
19. If your inventory feed is missing a field, the platform will alert you:

20. If so, Click "Retry"
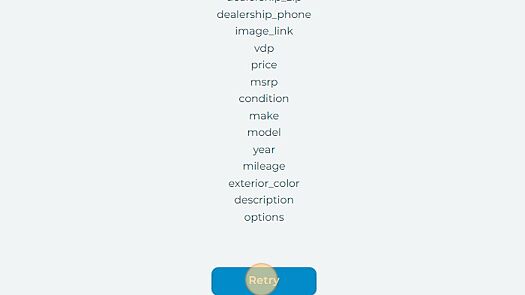
21. And you will be able to try again:

22. If the inventory feed passes inspection, you will receive a message indicating the file was verified:

23. Once your inventory feed file has been verified, you can upload it to the FTP server using the credentials you just received from the platform. Click "Continue" to move to the next step.

24. Select "Google Cars for Sale"

25. You will now have the option to add and customize UTM tracking for Google Analytics or Adobe Analytics
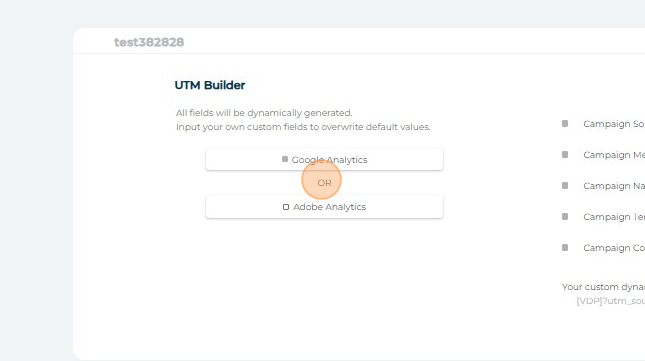
26. Once the UTM type has been chosen, you have the option to customize the fields

27. Once done, click "Continue"
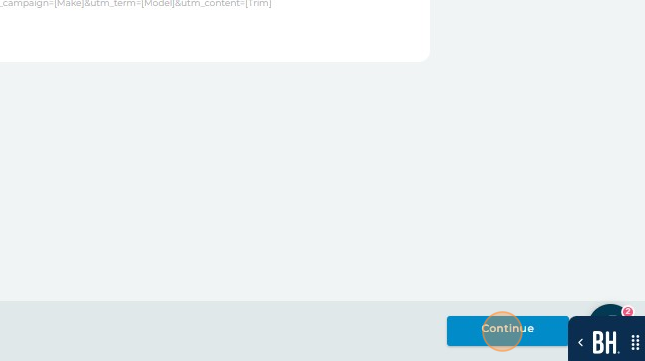
28. Click "Continue," and your inventory will now be submitted to Google!

29. If you haven't done so already, the last step to complete is setting up the inventory feed. Have the inventory feed file set up to be delivered to the provided FTP credentials on a daily basis.
If you have any questions please email help@dbaplatform.com for assistance.