How do I publish multiple posts for multiple locations?
dbaPlatform makes it easy to schedule content for multiple Google Profiles.
This article will review the entire post-scheduling workflow and will highlight the multi-location specifics.
1. Navigate to https://agency.commandpad.io
2. Click "Locations"
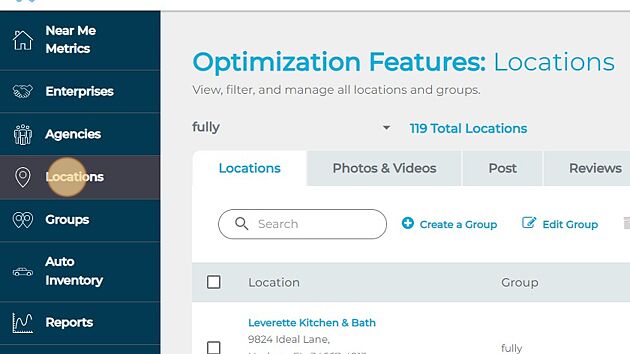
3. Click "Post"
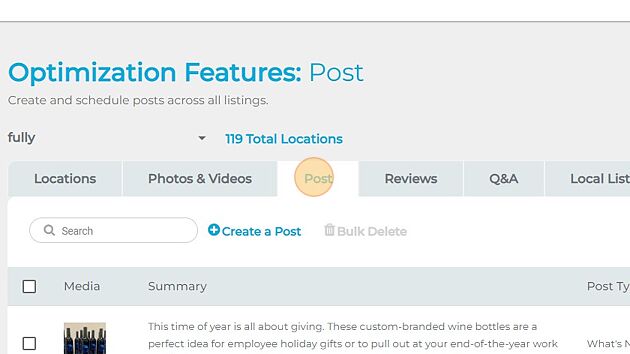
4. Click "Create a Post"

5. Select the post type pertinent to the post you'd like to create

6. Add the photo to be utilized for the post - there is also an option to the right allowing you to use a photo that you already uploaded on the Photo tool

7. Click "Continue"
8. Fill out your post content

9. You may also add placeholders - this is useful if you are scheduling a post for multiple locations and want to make certain aspects of the post unique, such as location addresses.
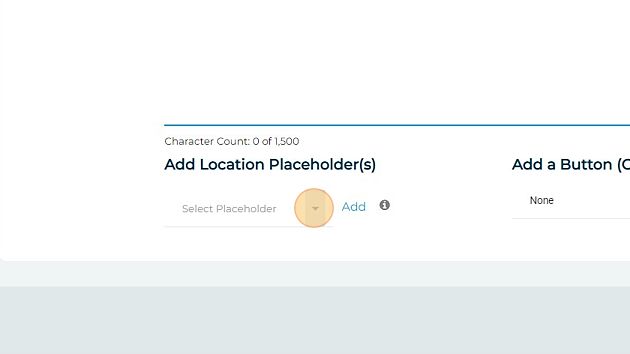
10. Select the placeholder you wish to utilize

11. Click "Add"
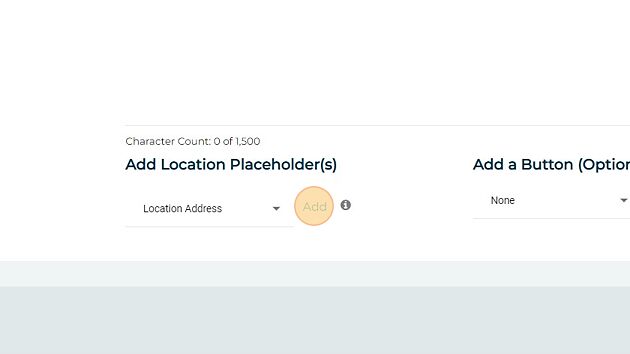
12. We also recommend that you take advantage of the call-to-action button
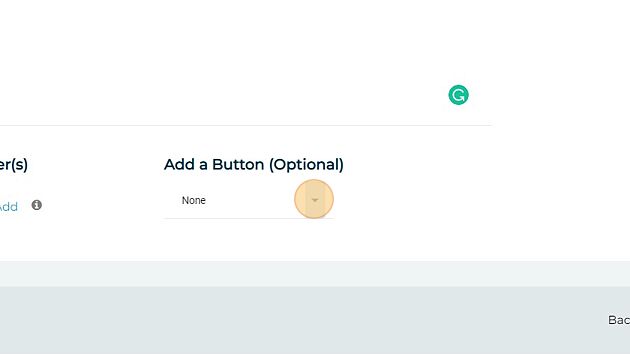
13. There are several options for you to select from: Book, Order Online, Buy, Learn More, Sign Up, and Call Now
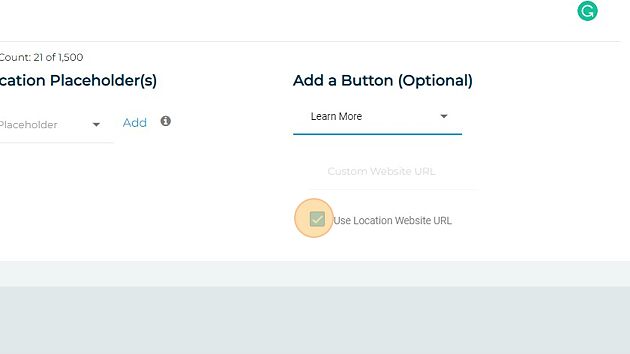
14. Many of these options will lead the client to a URL - you can give the Post a specific URL to forward to if you have one, otherwise, the post will utilize each Google profile's general URL
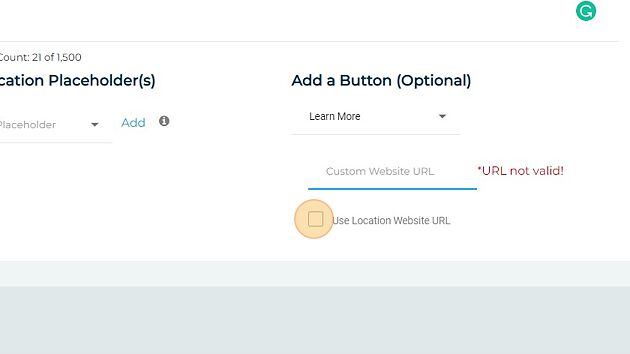
15. If you'd like to use a specific URL, deselect the "Use Location Website URL" button and enter the desired URL

16. Click "Continue"
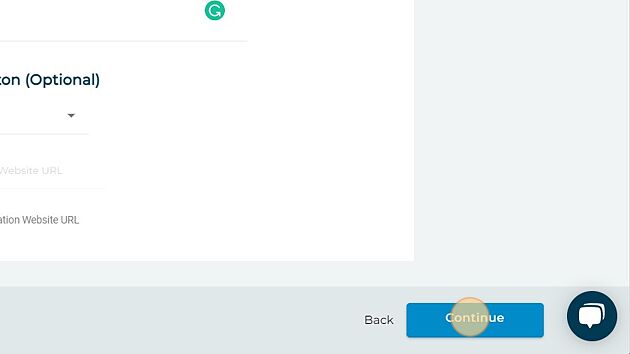
17. Our Post tool also provides a built-in UTM builder that you can customize. Provide the desired metrics, and the UTM will automatically be applied to the post and link to your Google Analytics account

18. Click "Continue"
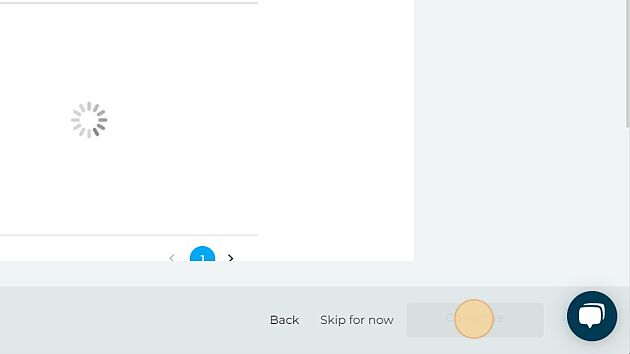
19. This step is where we determine which locations we'd like the post to. There are several ways to go about this

20. Clicking the "Select All" button will select all of the locations within the given group

21. Or you can search for and select specific locations

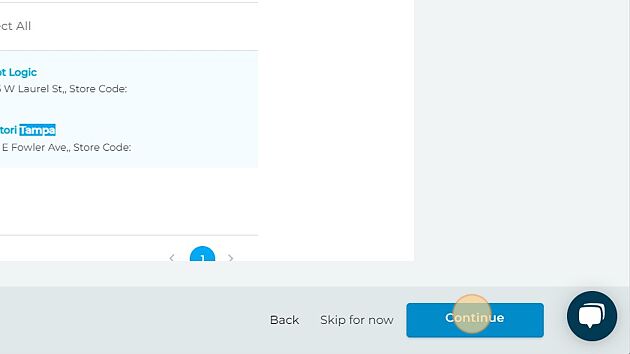
22. You can search for specific locations, or you can search for tags if you have already labeled locations within the group.

23. Select the locations you'd like to schedule this post for

24. Click "Continue"
25. Schedule the post for the desired date and time. You can also select "Publish Immediately" if you'd like the post to go out now


26. Click "Continue" and your post has been scheduled!
