Before you activate Local Listings, please ensure the location has been grouped within dbaPlatform.
1. Navigate to https://agency.commandpad.io/v2/#/location-groups/location
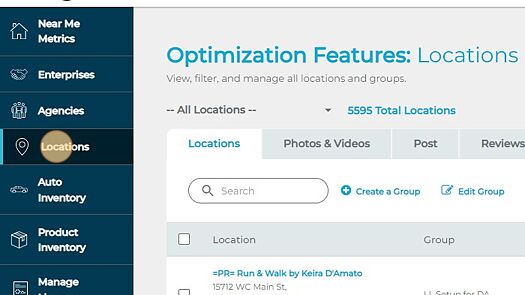
2. Click "Locations"
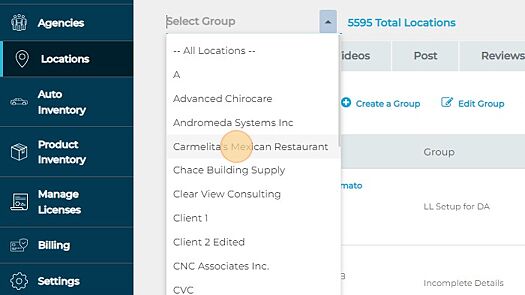
3. Select the group you wish to activate or make changes to
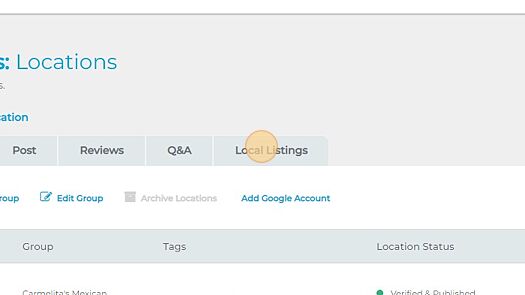
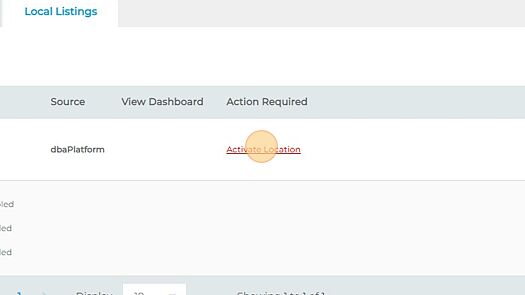
4. Click "Local Listings"
5. To activate, click "Activate Location." If you have already activated the location and just need to make changes, skip to step 10
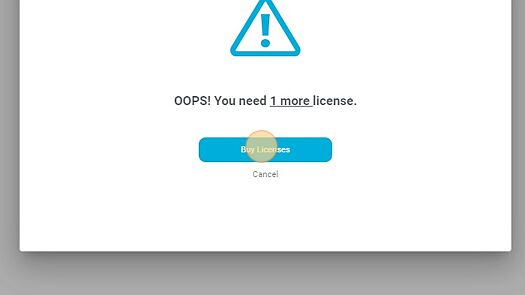
6. If you have not assigned a package to the location yet, a popup will ask you to purchase more licenses. Click "Buy Licenses"
7. Select the package type you'd like to apply. The Pro Package and better come with the full Local Listings service.
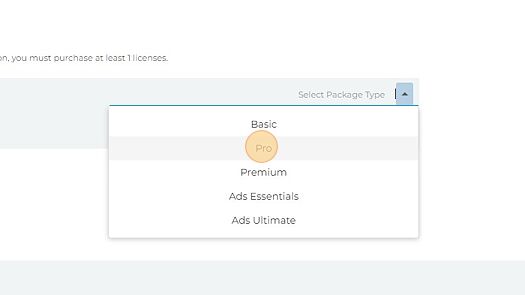
8. Click "Continue"

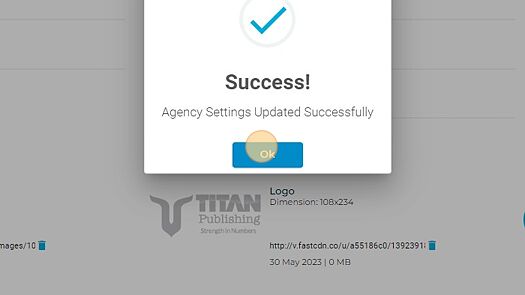
9. Click "Ok" and the package/Local Listings have been activated
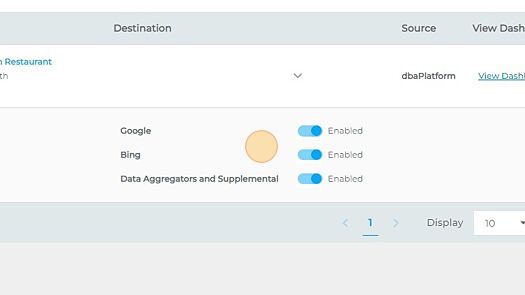
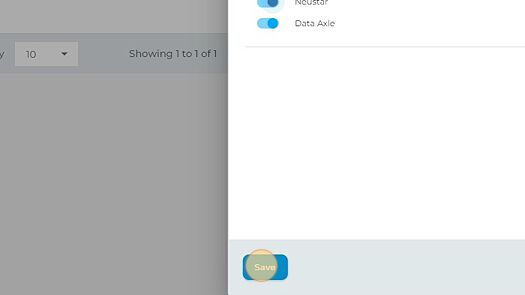
10. Ensure that all of the toggles are on for the destinations you'd like to sync to. The "Source" column will show the source of truth for the location. This source will determine which set of records will be used to sync to the other destinations - this can either be Google or dbaPlatform. If it is Google, then we will pull the data that Google has on file and sync that data to the other destinations. If it is dbaPlatform, then any edits made within dbaPlatform will be synced out on a daily basis to the other destinations, including Google - this has the additional benefit of overriding any crowdsource changes made to your Google profile, saving you time from ensuring no erroneous changes have been made to your GBPs.
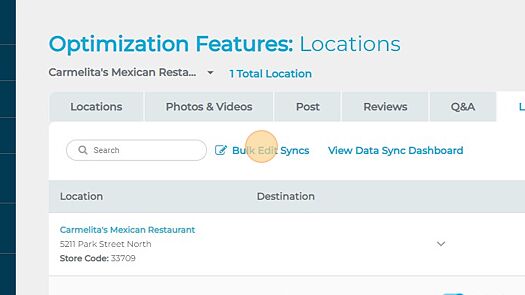
11. If you need to make edits to your source of truth, or want to make bulk updates to several profiles, click "Bulk Edit Syncs"
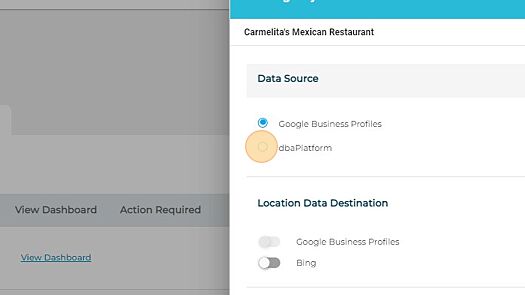
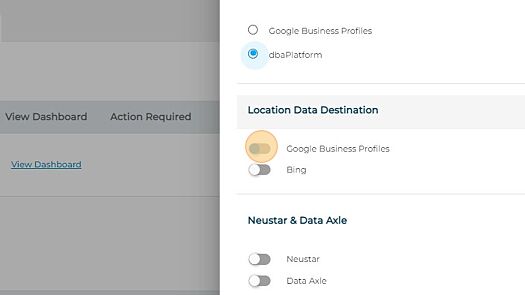
12. Select the source of truth you'd like to utilize
13. And make any edits required for the sync destinations
14. Once done, click "Save"
15. Click "OK"
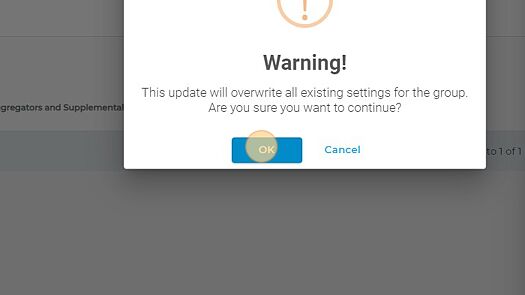
16. And your edits have been saved!