This article will review the process for scheduling photo content for single and multi-locations.
1. Navigate to https://agency.commandpad.io
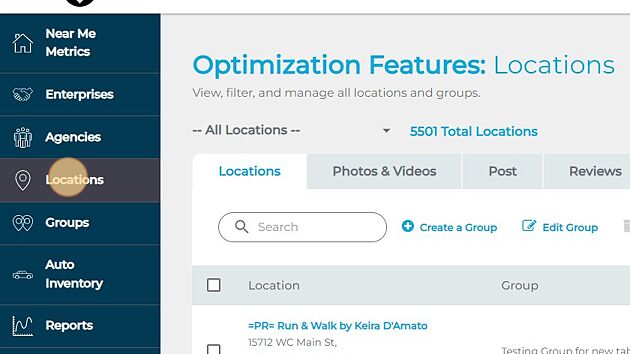
2. Click "Locations"
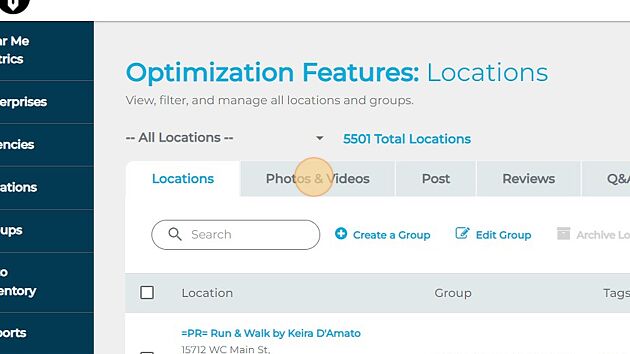
3. Click "Photos & Videos"
4. Click the drop-down menu
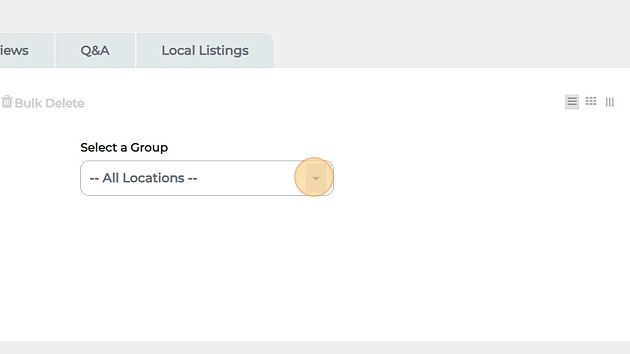
5. Select the group you wish to schedule content for

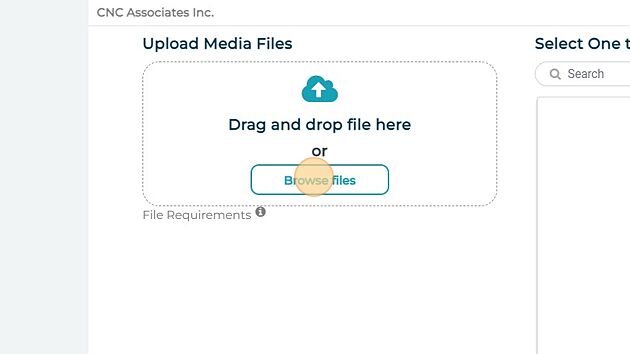
6. Click "Upload" to upload your photo to the platform

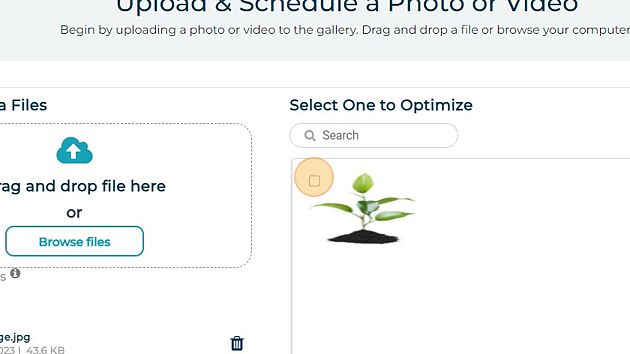
7. Click the "Browse files" field to search for your photos, or you can drag and drop your chosen photos. During this step, you can upload one or multiple photos
8. Once the photos are uploaded, select the photos you'd like to proceed with
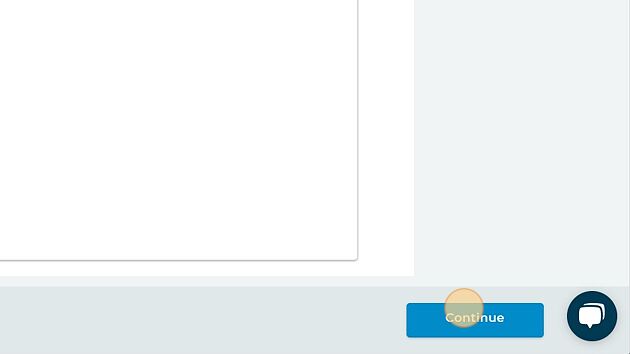
9. Click "Continue"
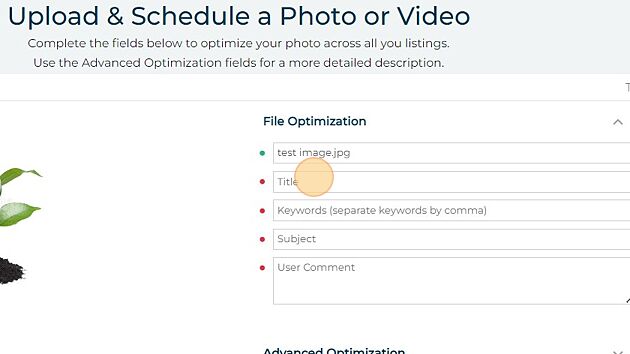
10. Click "File Optimization"
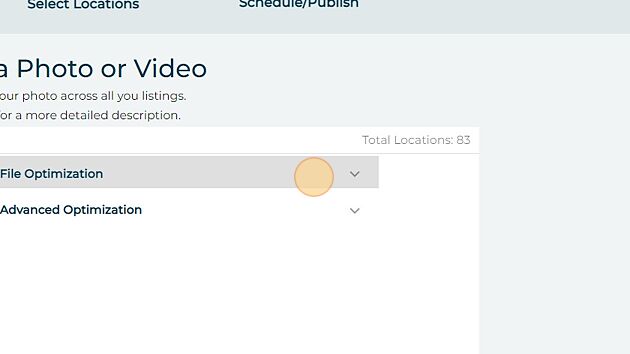
11. This allows you to update the photo's File Name, Title, Keywords, Subject, and User Comment. The coordinate EXIF data of the photo will automatically be optimized by the platform to exactly match the GBP's coordinates - if scheduling for multi-locations, the photo will be duplicated to match each profile individually
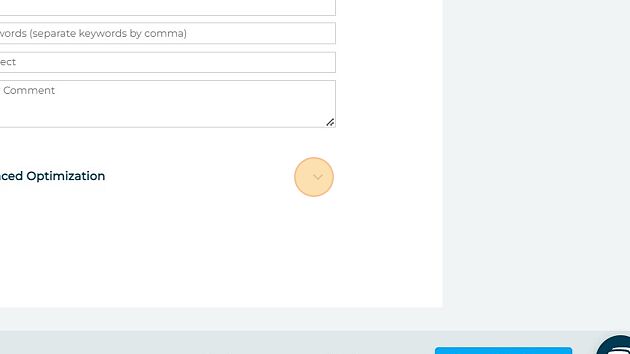
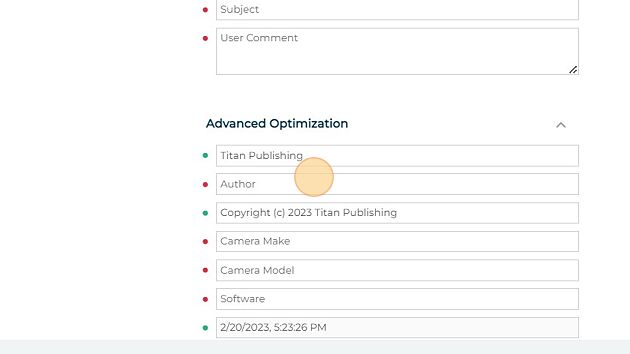
12. Click "Advanced Optimization"
13. This allows you to update more specific detail
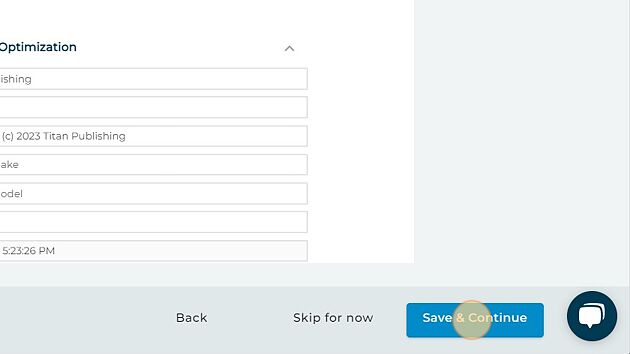
14. Click "Save & Continue"
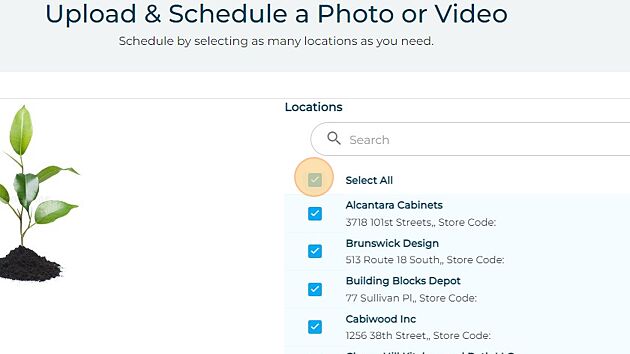
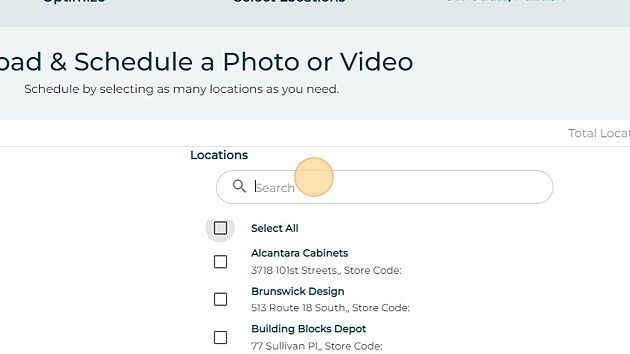
15. Select the locations within the group you wish to post this content for
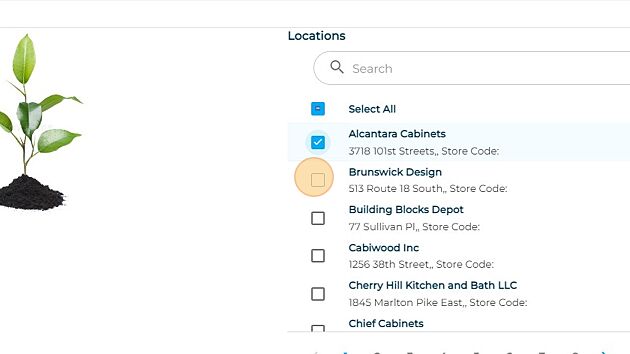
16. There is also a "Select All" option if you'd like to schedule this content for all locations within the group
17. There is also an option to search for locations to assist you with filtering through the profiles. You can filter for business names, addresses, or tags if they have been applied
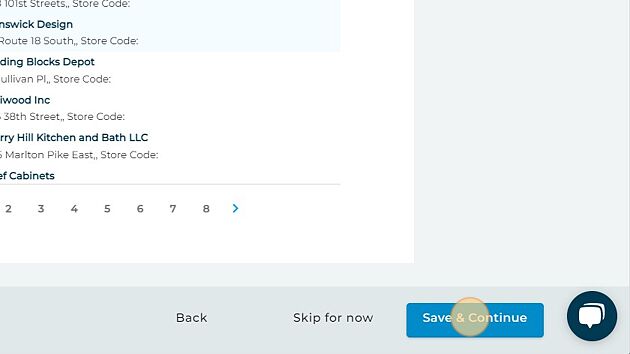
18. Once the chosen locations have been selected, click "Save & Continue"
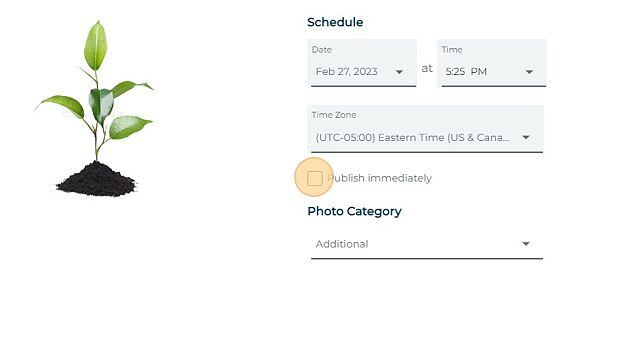
19. Select the date you'd like the content to be published
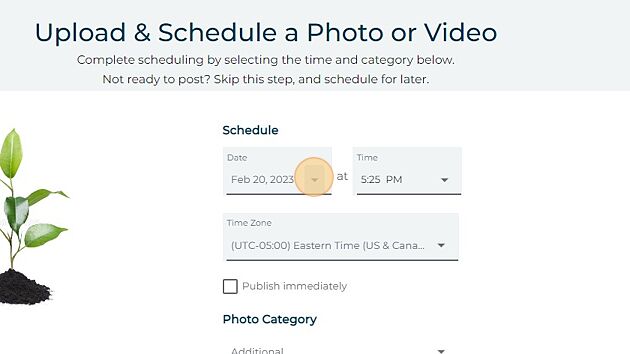
20. You can schedule the publishing date and also the exact time

21. There is a "Publish Immediately" option if you'd like to post the content as soon as possible
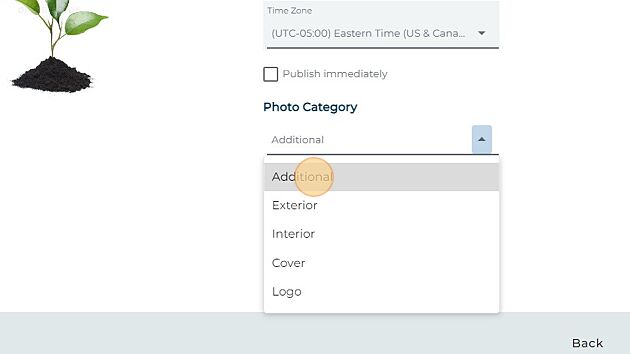
22. Select the category for the photo to be published to
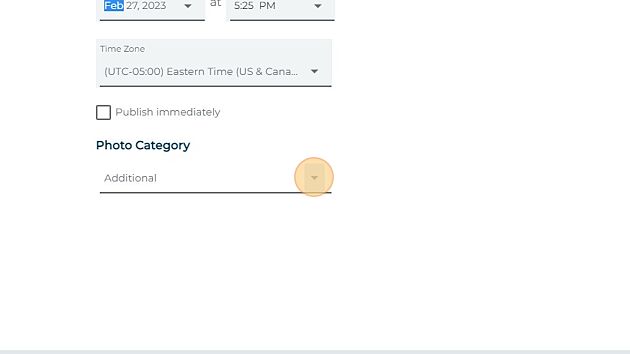
23. The available options are Additional, Exterior, Interior, Cover, and Logo
24. Click "Save & Continue"

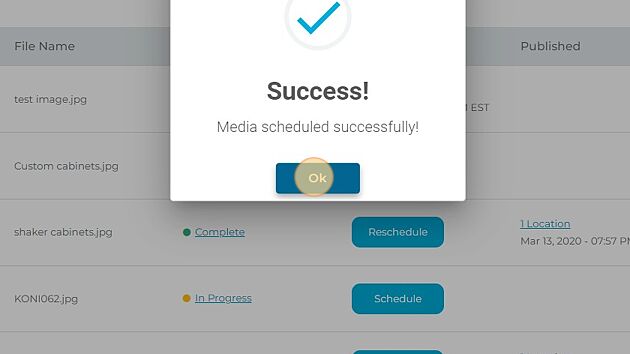
25. Click "Ok" and your content will be scheduled!